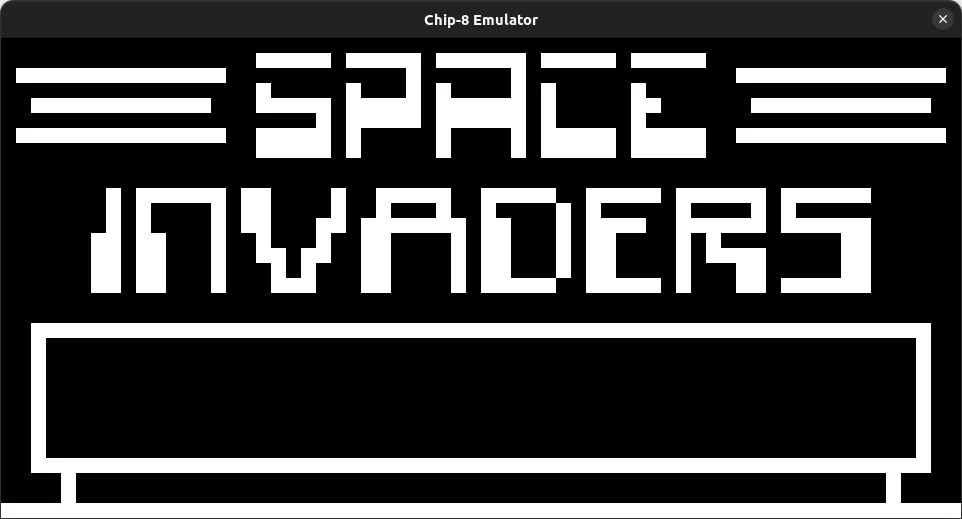
In this series, we will build a functional Chip-8 emulator in Rust. By the end of this series, you will learn the fundamentals of emulation and gain a deeper understanding of computer architecture.
To follow the code written in this series, you should have beginner to intermediate level proficiency in Rust. If not, you are encouraged to follow the concepts from this series and implement them in your favorite programming language.
But, wait, what is a Chip-8?
It is a simple, interpreted, programming language. It was designed in the 1970s, for the ease of writing small programs and games on different microcomputers of the time. Nowadays, it is more used as an educational tool for learning about emulation, low-level programming, and computer architecture due to it’s simple design.
Building an Emulator
An emulator is a piece of hardware or software which mimics another computer system. This means, by implementing our own Chip-8 emulator, we will be able to run software and games written for Chip-8 on this emulator.
The first step to writing an emulator is finding technical reference for it. For Chip-8, there are a lot out there, but I would recommend the following:
- CHIP-8 Virtual Machine Specification
- Cowgod’s Chip-8 Technical Reference v1.0
- Guide to making a CHIP-8 emulator
These detail out all the specifications that we are going to implement for our emulator implementation.
Structuring the Emulator
Let’s sketch out a basic layout for our emulator project.
We’ll start by creating a Rust binary project chip8-emulator. We’ll place each
component into it’s own module to make it easier to understand the system. We’ll
start by creating the emulator module in main:
mod emulator;
fn main() {
println!("Hello, world!");
}For the contents of emulator, we will just create an empty Emulator struct,
which we will populate in the subsequent steps.
pub struct Emulator {}Registers
Chip-8 has 16 general-purpose 8-bit registers, named V0 to VF. Additionally,
there is a 16-bit register called I, which is used to store memory addresses.
There is also a 16-bit program counter PC, not accessible from Chip-8
programs, used to store the currently executing address.
We can add these fields directly to our Emulator struct.
pub struct Emulator {
registers: [u8; 16], // 16 8-bit registers
index: u16, // 16-bit index register
program_counter: u16, // 16-bit program counter
}Memory
The Chip-8 system has a total of 4 kB (4096 bytes) of Random Access Memory. The
first 512 bytes (0x000 to 0x1FF) are reserved for the interpreter, and the
remaining 3584 bytes (0x200 to 0xFFF) are used for user programs and data
storage.
+-------------------+-- 0x000 (0)
| | Start of Chip-8 RAM
| Reserved |
| |
+-------------------+-- 0x200 (512)
| | Start of Chip-8 programs
| User Programs |
| and Data |
| |
| |
| |
| |
| |
| |
| |
+-------------------+-- 0xFFF (4095)
End of Chip-8 RAM We will create a separate memory module
mod emulator;
mod memory;In this module, we will create a Memory struct. This will help up colocate the stored
memory and it’s behavior.
const MEMORY_SIZE: usize = 0x1000; // 4096
pub struct Memory {
storage: [u8; MEMORY_SIZE], // 4kb
}Stack
The stack is a 16-bit LIFO array of length 16. This is used to store the return addresses for returning out of subroutines.
Similar to the previous steps, we’ll create a stack module and create a
Stack struct for this.
const STACK_SIZE: usize = 0x10; // 16
pub struct Stack {
pointer: usize,
values: [u16; STACK_SIZE], // 16 16-bit values
}Timers
Chip-8 has two timers: a delay timer and a sound timer. Both timers count down at 60Hz when set to a non-zero value. The delay timer is used for timing events, while the sound timer beeps until it reaches zero.
We’ll create a module for timer, and implement the Timer struct.
pub struct Timer {
value: u8,
}Keypad
CHIP-8 implementations used a keypad with 16 keys, labeled with the hexadecimals 0 to F in the following layout:
[1][2][3][C]
[4][5][6][D]
[7][8][9][E]
[A][0][B][F]Each individual key can be polled if it is in pressed state or not. We can store this into a boolean array.
pub struct Keypad {
keys: [bool; 16],
}Display
The Chip-8 has a 64x32-pixel monochrome display with this format:
[0,0] [63,0]
+-------------------------------+
| |
| |
| 64x32 DISPLAY |
| |
| |
+-------------------------------+
[0,31] [63,31]We can represent this as single array of 64 * 32 booleans to indicate if the pixel is on or off.
const DISPLAY_WIDTH: usize = 64;
const DISPLAY_HEIGHT: usize = 32;
const DISPLAY_PIXELS: usize = DISPLAY_WIDTH * DISPLAY_HEIGHT;
pub struct Display {
buffer: [bool; DISPLAY_PIXELS],
}Putting the pieces together
Our final main.rs should look like:
mod display;
mod emulator;
mod keypad;
mod memory;
mod stack;
mod timer;
fn main() {
println!("Hello, world!");
}Adding all the components into the emulator, we get:
use crate::display::Display;
use crate::keypad::Keypad;
use crate::memory::Memory;
use crate::stack::Stack;
use crate::timer::Timer;
pub struct Emulator {
registers: [u8; 16], // 16 8-bit registers
index: u16, // 16-bit index register
program_counter: u16, // 16-bit program counter
memory: Memory,
stack: Stack,
delay_timer: Timer,
sound_timer: Timer,
keypad: Keypad,
display: Display,
}Wrapping Up
In this post, we structured our Chip-8 emulator project and defined its main
components: Emulator, Display, Keypad, Memory, Stack, and Timer.
In the next part of this series, Build a Chip-8 Emulator in Rust - Part 2 - Emulation Cycle, we’ll dive into implementing the emulation cycle for Chip-8, ie, mimicking the execution of a Chip-8 program. Understanding and implementing this will be crucial as this defines how the emulator processes and executes Chip-8 programs.
